How to make seed paper that can grow into plants for your survival garden
06/01/2021 / By Arsenio Toledo
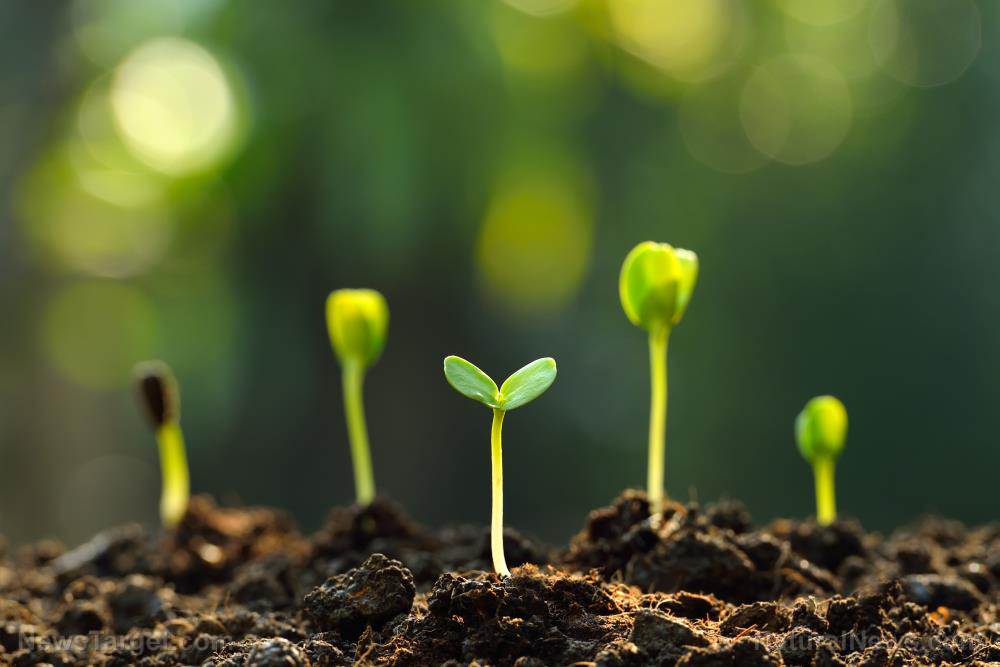
Seed paper is considered by many to be nothing more than a novelty item. But as a prepper, you might find that this ingenious item may help you increase the amount of food you’re growing in your survival garden.
As its name suggests, seed paper, or plantable paper, is a kind of handmade paper that has been embedded with seeds. Once you are done using the paper, it can be planted in the soil. The paper will decompose in the soil, providing your new plant with some much-needed compost. Seed paper requires the use of sturdy seeds, such as tomatoes, mustard, carrots and basil. (Related: Indigenous communities tackling food security and protecting the environment by saving seeds.)
This unique kind of paper has some advantages for preppers and gardeners. These includes the fact that commercially purchased seed paper can include a variety of seeds that you may be interested in planting. Seed paper can also help you fortify your food supply during survival scenarios. Here is how to make seed paper.
How to make seed paper
Making seed paper is not that different from making paper bricks or other kinds of novelty paper. You will need the following materials:
- Used, shredded paper and other raw materials. There should be enough for the amount of seed paper you want to make.
- A mesh screen. The dimensions of this screen should match the size of the paper you want to make. An old window screen can work. Otherwise, you might have to buy mesh screen material at your trusted hardware store and attach it to an empty frame.
- A blender or food processor.
- A large bucket, tub or sink. This needs to be large enough to dip your mesh screen in horizontally.
- Pressing board. This is a large piece of wood, plastic or a similarly hard material large enough to cover the mesh screen. You will be using this to press the pulp into the screen.
- Measuring cups to gauge how much paper and water you are using.
- Felt or towels to absorb excess moisture.
- A large bowl.
- Your choice of plant seeds.
The night before you make the paper, take your shredded paper and raw materials and soak them overnight in a large bowl with warm water.
The next day, take your raw materials and shredded paper and place them in your blender or food processor. Measure how much paper and raw material you use with your measuring cups. However much shredded paper you put, add double the amount of water.
Blend this mixture until it reaches a thick, soup-like consistency. This is your pulp. Transfer the pulp into your large bucket, tub or sink and add in the seeds. Make sure to stir this mixture well to make sure the seeds are evenly distributed.
The next step is how you turn your pulp into sheets of paper. You make the sheets by dipping one side of your mesh screen into the pulp-filled basin. Turn the screen over to form a layer of pulp. Even this screen out by tilting it as needed.
Once the layer of pulp is even, lift the screen and let it drain for a minute. Remove all the excess moisture by pressing on it with your chosen pressing board.
Lay your felt or towels down on a flat surface. Invert the screen over the felt or towels so that the seed paper falls onto them. Repeat this process and make more sheets of seed paper until you are out of pulp.
Once you’ve laid out all your sheets, if you are not satisfied with their evenness, you can use a rolling pin to flatten them out further. Leave the seed paper here to dry for at least a day. You can speed up the drying process by using a hairdryer.
When you make the pulp for your seed paper, you can add a few ingredients to improve germination. Adding finely crushed eggshells, coffee grounds, used tea leaves or soaking your pulp in compost tea can give the seeds and the soil you eventually plant them in a boost in essential nutrients.
Planting the seed paper is relatively simple. Place your seed paper in your garden soil and add one-eighth of an inch of soil on top of the paper. Look after it like you would regular seeds in your garden.
Learn more ways to fortify your garden by reading the latest articles at HomeGardeningNews.com.
Sources include:
Tagged Under: disaster, food security, home gardening, homesteading, how-to, off grid, preparedness, prepper, prepping, seed paper, seeds, SHTF, survival, survival garden, survivalist, tips
RECENT NEWS & ARTICLES
COPYRIGHT © 2017 OFFGRID NEWS

