Prepper projects: How to make a DIY oil lamp using household items
07/29/2020 / By Zoey Sky

Before SHTF, preppers know how important it is to stock up on survival essentials like food, water and gear that you can use to prepare your food, boil water or light your home when the power goes out. But what if you don’t have candles or extra flashlights? (h/t to ModernSurvivalOnline.com)
Knowing how to make DIY oil lamps ensures that you have access to a light source if you can’t run to the store to buy supplies. Even if you already have backup flashlights and extra batteries, it doesn’t hurt to know how to make an oil lamp using household items, just in case you need one.
Containers for your DIY oil lamp
When choosing a container for the oil lamp, it’s best to use a heat-resistant jar. Other options include:
- Clay, earthenware or metal bowls
- Empty metal tins for creams or cosmetics
- Glass food jars
- Mason jars
- Wine bottles
If you don’t have a jar, choose a shallow container that’s wider than it is deep. This is important because it ensures that you won’t use up the oil too quickly and it’s safer since it won’t get knocked over and spill, causing a fire inside your home.
Do not leave oil lamps unsupervised, especially if you have young children or pets.
Choosing fuel for your oil lamp
Kerosene is cheaper than commercially manufactured lamp oils. However, the latter doesn’t have an unpleasant odor and it burns cleaner than kerosene.
Note that it’s safer to use kerosene outdoors than indoors. If you’re using a kerosene oil lamp indoors, make sure the room has proper ventilation.
Alternatively, you can use almost any kind of cooking oil as fuel for a DIY oil lamp.
Other fuel options include:
- Castor oil
- Coconut oil
- Hemp oil
- Lamp oil
- Lard
- Nut oils
- Olive oil
- Seed oils
- Tallow
- Vegetable oil
Another option is to use mineral oil, which will ignite easily if you combine it with other types of safe burning oils. (Related: DIY prepper guides: How to make homemade charcoal.)
What to use as the wick for your oil lamp
Like a store-bought oil lamp, your DIY lamp needs a wick before it can burn and provide light. Wicks draw up the oil to use as fuel before the lamp can produce a flame.
Store-bought oil lamps have wicks made of fibrous material like linen, plant fibers and papyrus.
When making an oil lamp, weigh the bottom of the wick so it stays secured in the oil. Use small weights like a soda can tab or a bit of cork tied onto the base of the wick.
Alternatively, you can hold the wick in place by carefully poking a hole through the lid of a Mason jar. Thread the wick through it, then secure the lid in place with a ring.
You can use the following materials as a wick for your oil lamp:
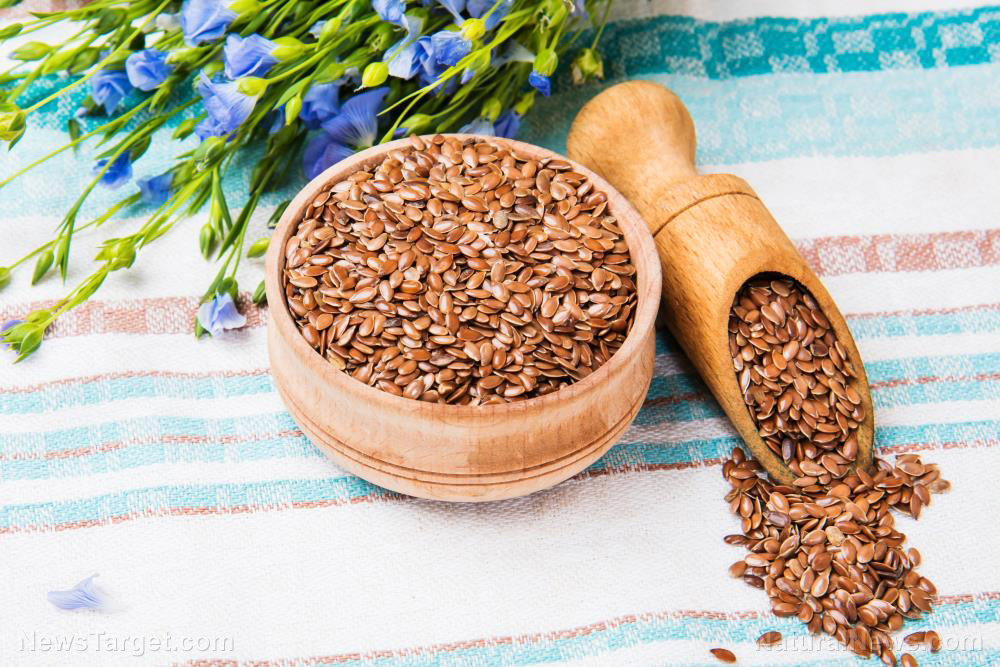
- Flax or nettle cord
- Rolled up newspaper
- Twine
- Twisted paper towels
How to make a DIY oil lamp
To make a DIY oil lamp, chose your preferred materials from the lists above. Once you have a heat-proof container, a wick and fuel, follow the steps detailed below.
Equipment:
- Hammer
- Nail
- Scissors
- Vice, two bricks or two blocks of wood
- 1 Mason jar
- 1 Mason jar lid
- 1 Mason jar ring
- Olive oil
- Cord or twine
- Washer, nut or a bit of cork
Steps:
- Place the Mason jar lid in the vise or upside down between two bricks or pieces of wood.
- Use the hammer and nail or a power drill and a bit to punch a hole in the middle of the Mason jar lid. Make it big enough for the wick to fit through.
- Set the lid aside, then clear your workspace.
- Slide the wick through the hole on the lid, then leave the top end sticking out. Temporarily tape the wick in place so it doesn’t fall inside when you place it back in the DIY oil lamp.
- Fill the Mason jar with lamp oil a little more than 3/4 the way full with olive oil.
- Tie the cork around the bottom end of the wick.
- Place the lid with the wick through it into the DIY oil lamp container and line up the weighted bottom so it’s centered in the base of the Mason jar.
- Screw the ring onto the Mason jar around the lid while you secure the top of the wick in place.
Before you light the oil lamp, let the wick soak up the oil for 15 minutes. Note that oil lamps can emit small amounts of carbon monoxide, so only light the oil lamp in a well-ventilated room.
When SHTF and you need a back-up emergency light source, make a DIY oil lamp using a Mason jar, olive oil and twine or other materials you have at home.
Sources include:
Tagged Under: DIY, emergencies, Gear, how-to, off grid, oil lamp, preparedness, prepper, prepping, SHTF, survival, survival gear, survival skills, survival supplies, Survival Tips, survival tools
RECENT NEWS & ARTICLES
COPYRIGHT © 2017 OFFGRID NEWS


